Online academy: Videos

We use cookies to help provide you with the best possible online experience

Design with ASCON Solutions:
Powerful Functionality • Easy-Learning • Cost-Effective

01 The Bracket Design

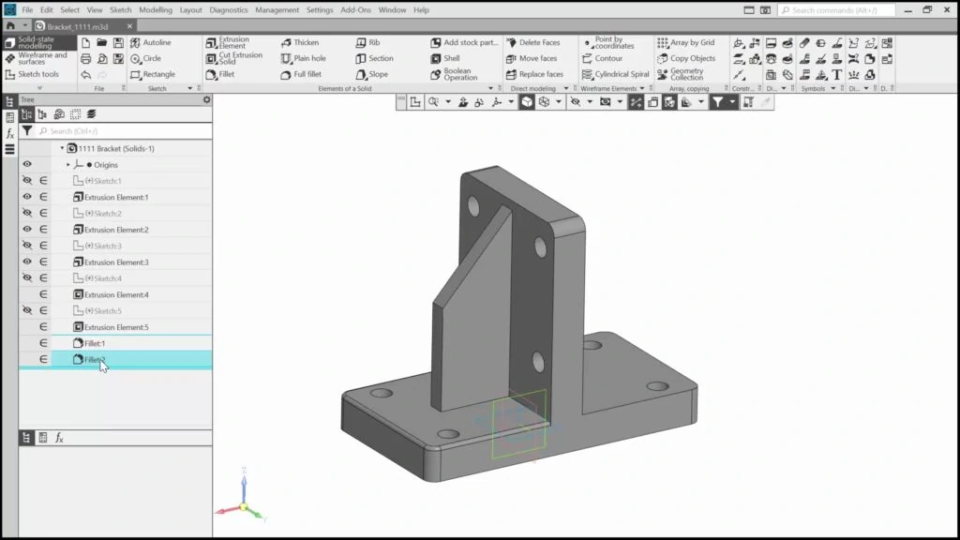
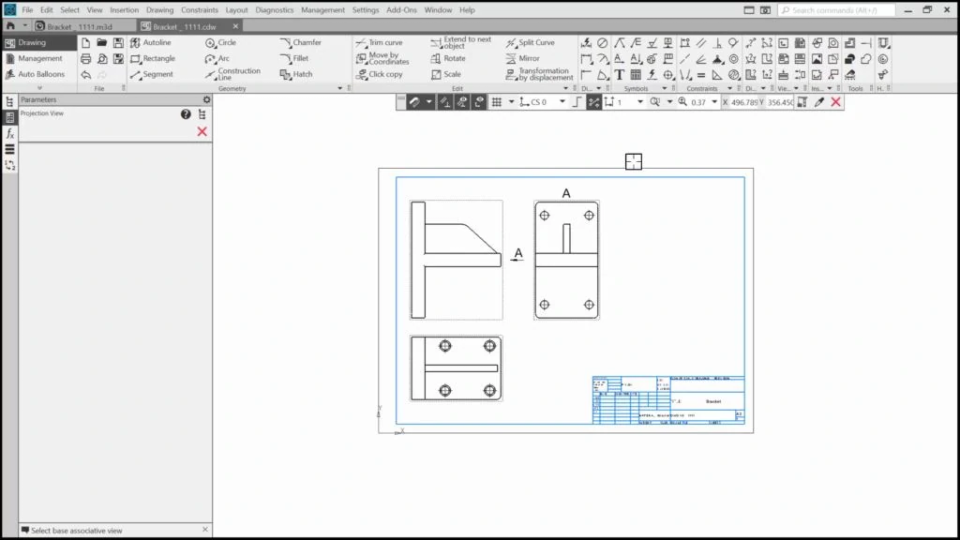
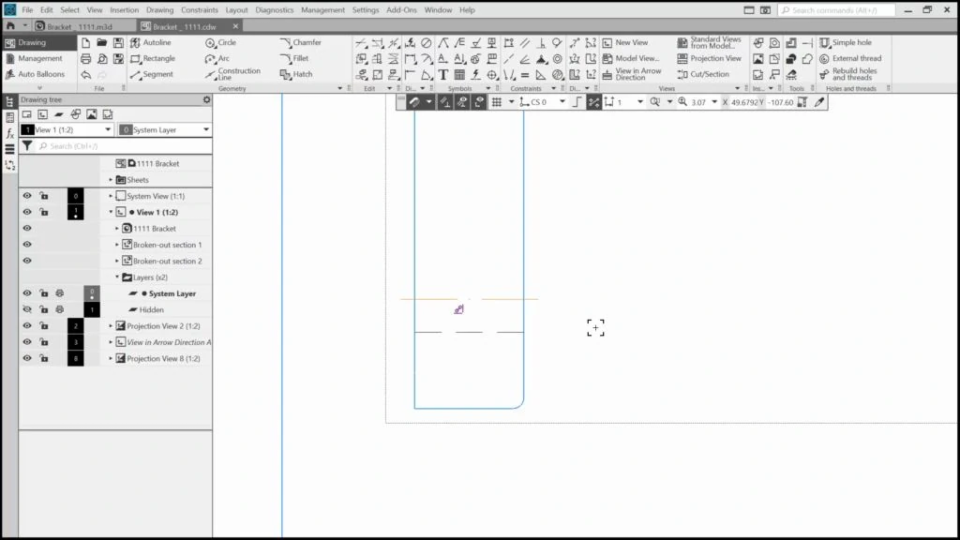
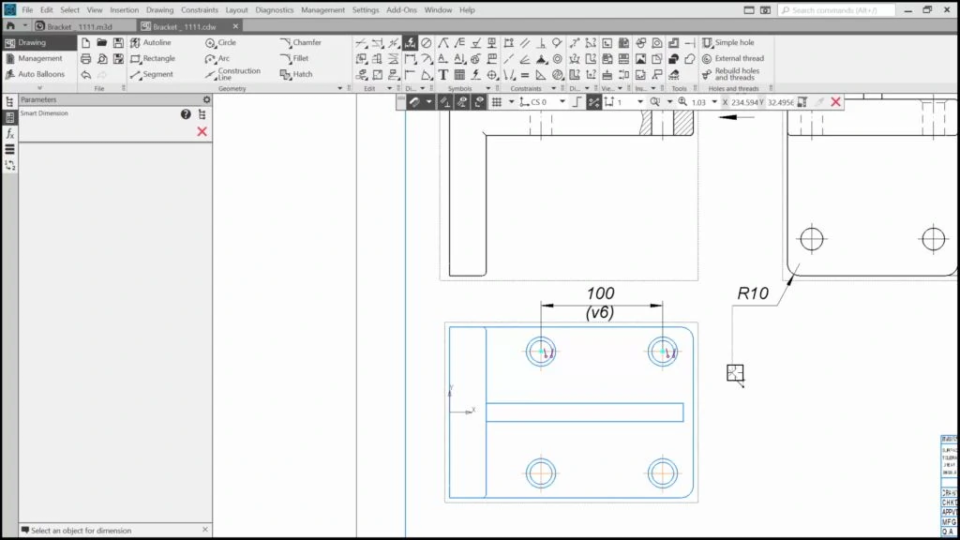
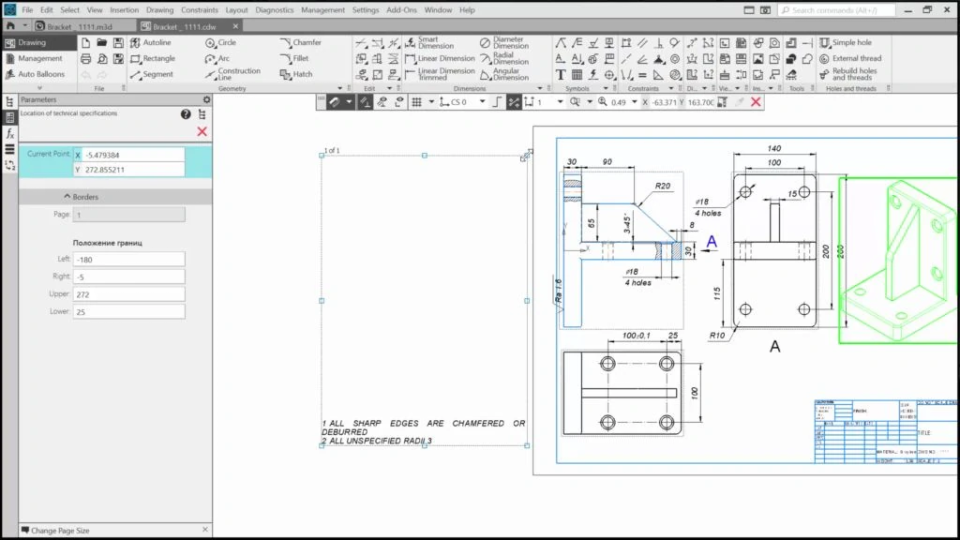
Welcome to the series of KOMPAS-3D lessons for beginners. This course is the first one, and here you’ll get familiar with the KOMPAS-3D interface and most frequently used functionality.

1. Let's Start (4:04)
In this video, we’ll learn how to create a new 3D-model and specify its properties in KOMPAS-3D CAD software.
2. Creating the Bracket (5:38)
In this video, we'll create the bracket's base using the "Extrusion element" command.
3. Adding the Flange (3:26)
In this lesson, you'll learn how to add a flange to the bracket, edit elements, and use the built-in calculator.
4. Creating the Rib (4:10)
In this video, you'll learn how to completely define a sketch and practice using the "Extrude Element" command.
5. Cutting the Holes (6:58)
In this video, we'll create holes using “Cut by extrusion” and explore the line styles.
6. The Fillets and the Chamfers (4:13)
In this lesson, we’ll round the sharp edges of the part and chamfer the edges of the holes.
7. Creating the drawing (4:08)
This video will show you how to specify a front view and generate a drawing from the model.
8. Adding the auxiliaryviews (6:17)
In this video, we’ll replace the left view with the right view, find the optimal isometric view, and arrange all views in the drawing.
9. Adding the broken-out sections (5:51)
In this video, we’ll add several broken-out sections and adjust them.
10. Hiding Objects (3:05)
This video will teach you how to hide objects using invisible layers.
11. Adding the Dimensions (7:16)
This video will teach you how to add various types of dimensions to the drawing.
12. Add symbols to the dimensions (3:06)
In this lesson, we'll add such symbols as a tolerance, a diameter, and some texts to dimensions.
13. Finishing the Drawing (4:52)
It's the final lesson in "The Bracket Design" course, where you'll learn how to create surface finish symbols and notes to the drawing and data to the title block.

The content on this page is available to authorized users only. Please sign in.