Marine Propeller Design in KOMPAS-3D

We use cookies to help provide you with the best possible online experience

Design with ASCON Solutions:
Powerful Functionality • Easy-Learning • Cost-Effective

Marine Propeller Design in KOMPAS-3D

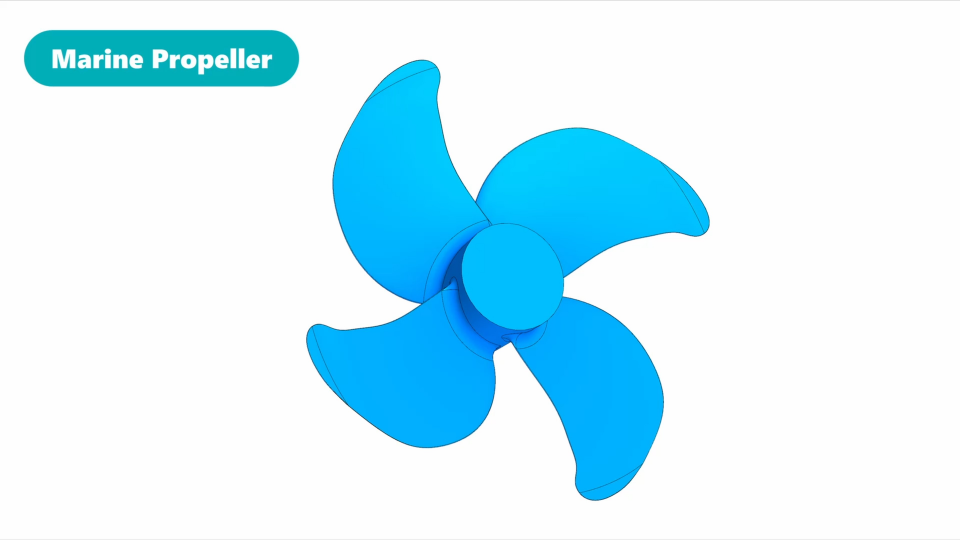
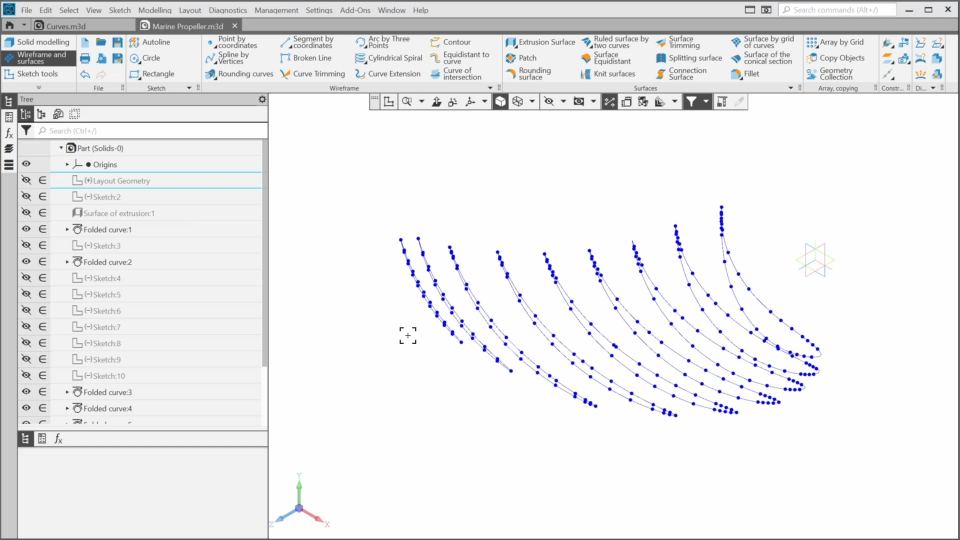
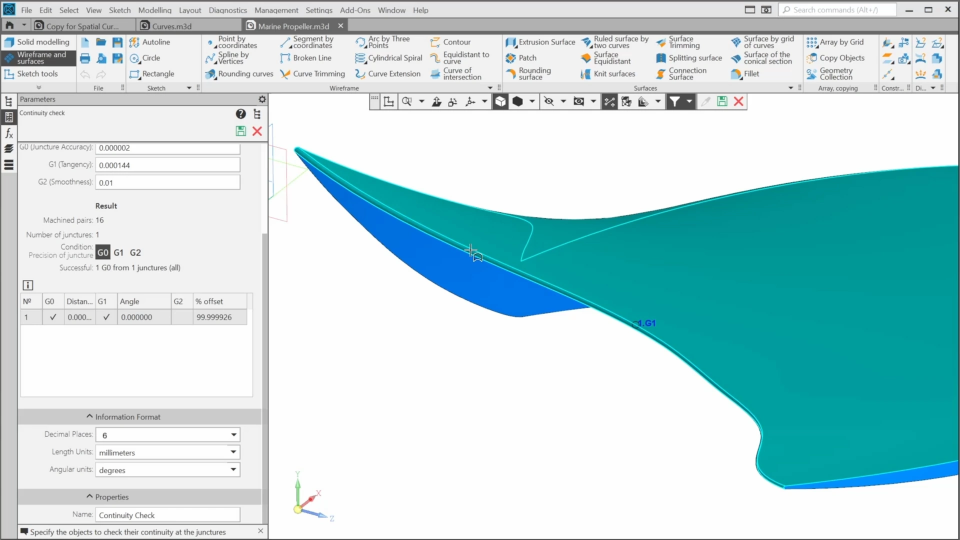
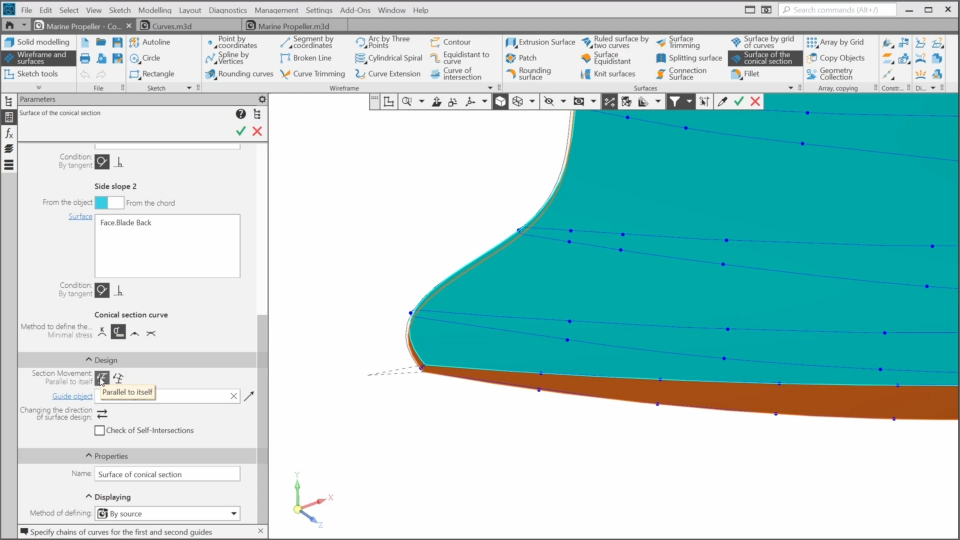
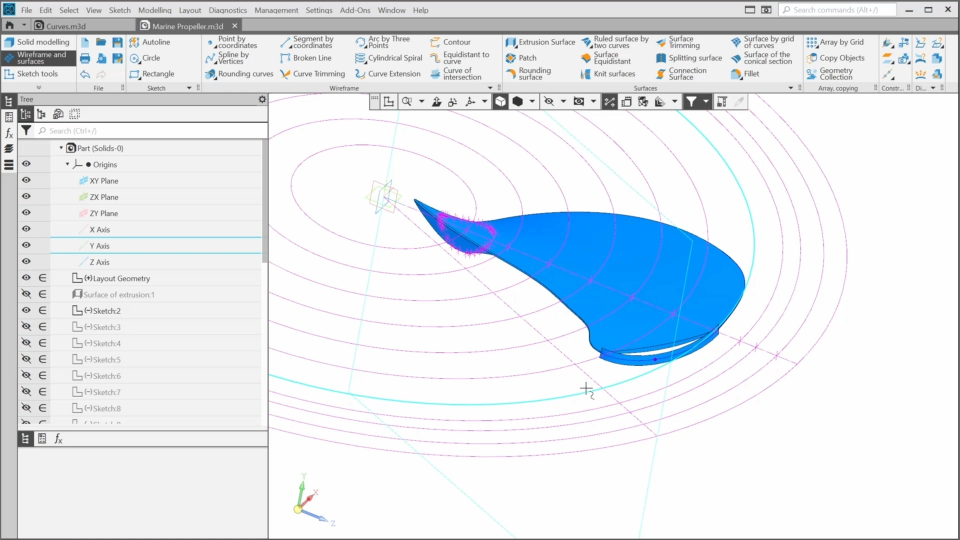
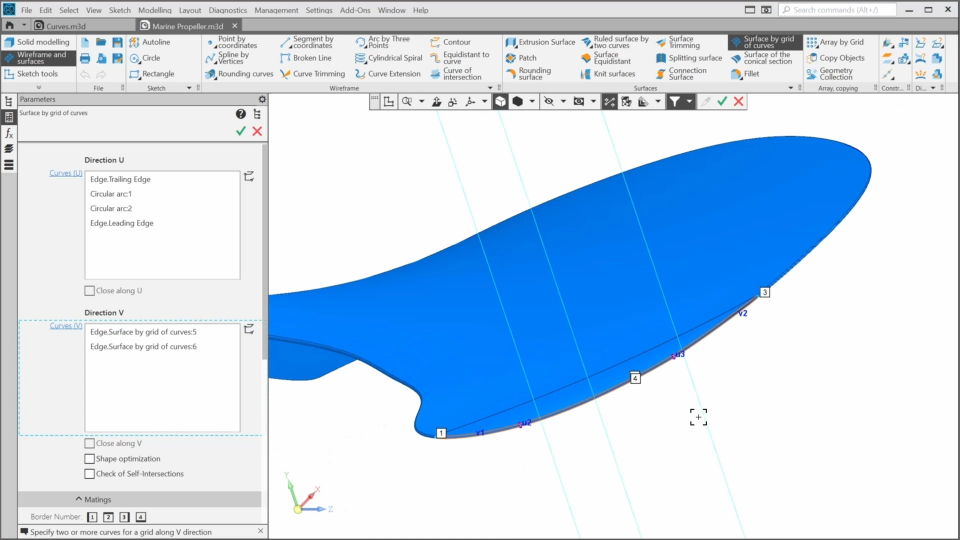
In this course, we will create a marine propeller using surface modelling. First, we will get acquainted with the basic principles of surface modeling. We will create the spatial curves as frames, and then – blade surfaces, based on the curves. We will check the smoothness and continuity of the surfaces and refine them to achieve a better result. When we finish the first blade, we will create the propeller hub and attach the blade to it. Then, we will copy the blade using the array functionality. Finally, we will add fillets between the blades and the hub.

1. What We’re Going to Do (3:47)
In this lesson, you'll learn what we'll do in the course. You'll know the base principles of Surface modelling in KOMPAS-3D. Finally, we’ll agree on the names of the marine propeller parts.
2. The Sections for the Blade Face and Back (6:22)
In this lesson, we’ll create the spatial curves that will be used as the sections for the surfaces of the blade face and back.
3. The Blade Face and Back Surfaces (8:21)
In this lesson, we’ll create the surfaces for the blade face and blade back using the spatial curves from the previous lesson as base elements. We’ll use the zebra stripes to check the smoothness of the surfaces and refine them if needed.
4. The Blade Leading and Trailing Edges (9:05)
In this lesson, we’ll create the surfaces for the leading edge and the trailing edge and refine them based on continuity checking results.
5. The Alternative Way to Create the Blade Edges (2:47)
In this lesson, we’ll learn a simpler way to create a smooth connecting surface. It can be useful in certain situations.
6. The Blade Tip. Auxiliary Geometry (6:57)
In this lesson, we’ll continue designing the blade and begin work on the blade tip. This requires some additional auxiliary elements to achieve a high level of surface quality. It will also give us an opportunity to explore more of the KOMPAS-3D functionality.
7. The Blade Tip. Surfaces (8:28)
In this lesson, we’ll finish the blade tip. We’ll create its surfaces using the geometry created in the previous lesson.

The content on this page is available to authorized users only. Please sign in.